Google Authentication in Salesforce
In this post we will see how Google authentication can be enabled in Salesforce using OpenID connect.
We can enable Google authentication in Salesforce with these simple steps -
- Get Google credentials for authenticating users through your app
- Setup Google as an auth provider in your salesforce org
1. Setup Google for Authentication of your App #
Get started by getting your client id and secret from Google. Go to Google developer console. Create a distinct project for your app by clicking on the project dropdown on the top toolbar next to logo.
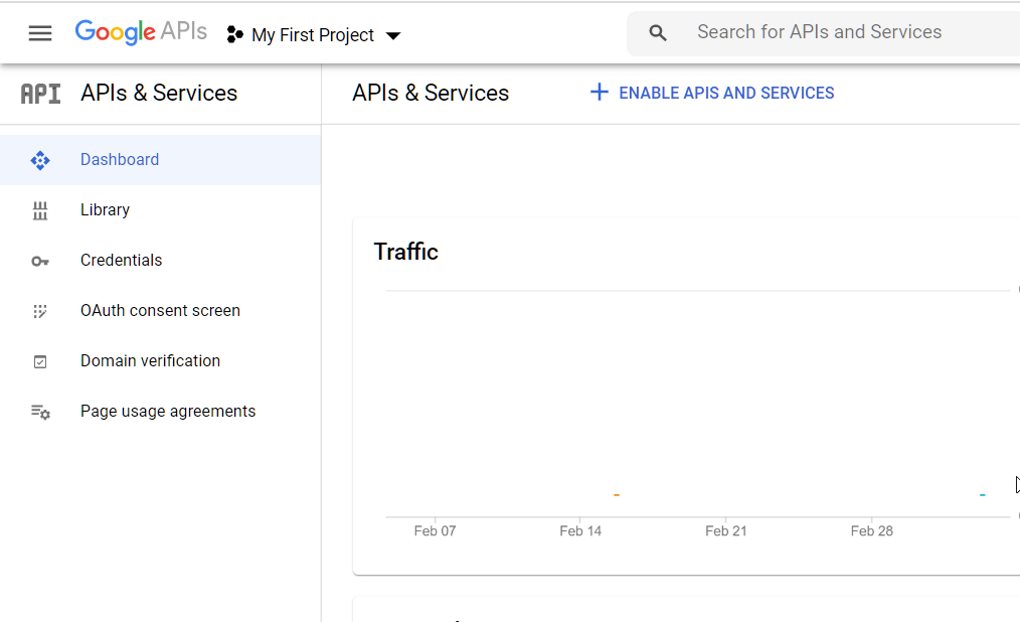
I created “SF-Demo-Auth” as the new project. Select the project. Go to OAuth consent screen.
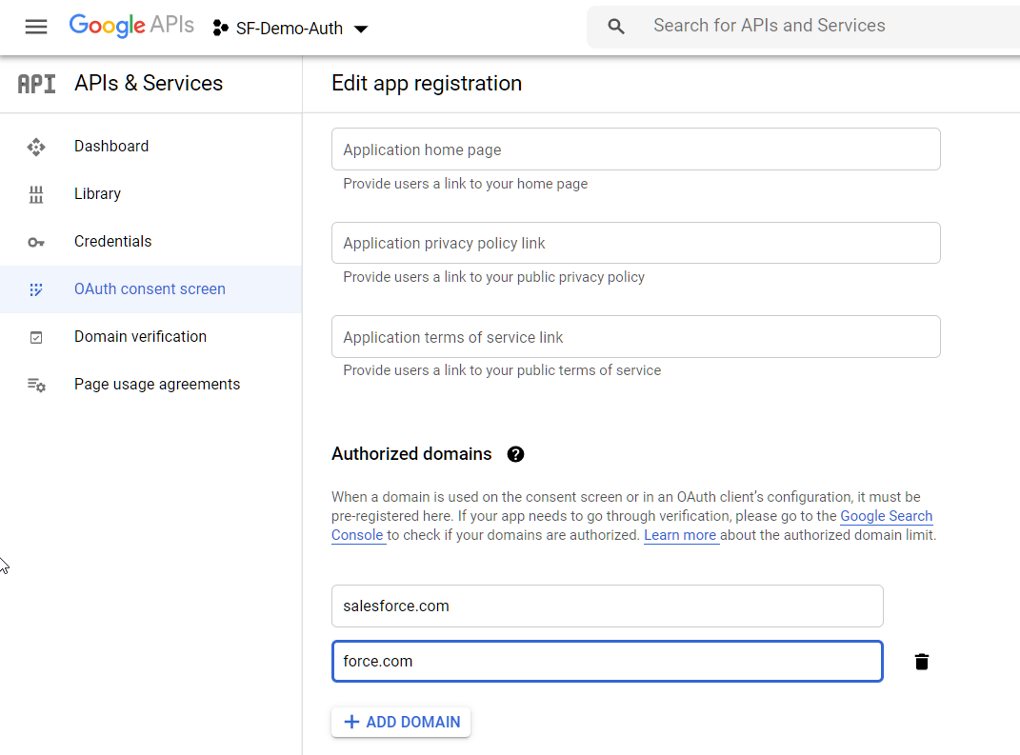
- Select
External Useras the user type to enable anyone with Google id to authenticate. - Provide
Authorized domainsassalesforce.comandforce.com
In the next screen in the wizard, click Add or remove scopes. Select all scopes and click Save and continue.
Add test users who can authenticate with your application in the next screen. Authentication will be limited to test uers until the time the app is published for general use.
Next, go to Credentials screen from the navigation bar at the left-side of the screen. Click Create and select OAuth Client Id. Enter Application Type as Web Application. Provide a valid name and click Create.
Copy the Client ID and Client Secret once the OAuth client is created. There is one pending step here that we do in the next section.
Configure Google as Auth Provider in Salesforce #
In Salesforce go to Setup > Identity > Auth Providers. Create a new record and select Google as the Provider Type. Endpoint URLs are automatically pointed to the Google API URLs.
Paste the Client ID and Client Secret values. Leave the Scopes field blank or enter the specific values that you saw in Google OAuth creation screen - email profile openid.
Select the option to auto create registration handler. Select a user with which the registration handler class has to be executed. Hit Save. You can view the Apex class generated for you and make any changes to create/update user when Google authentication is used.
Copy the Callback URL value from the saved auth provider record.
Go back to Credentials screen in Google developer console. Select the OAuth record that you had previously configured. Add an Authorized Redirect URI and paste the value from Callback URL in Salesforce.
Go back to Salesforce. Go to Setup > Company Settings > My Domain > navigate to Authentication Configuration > Click Edit. Select the recently created auth provider - in our case it is Google Auth. Click Save.
Testing our Google Authentication #
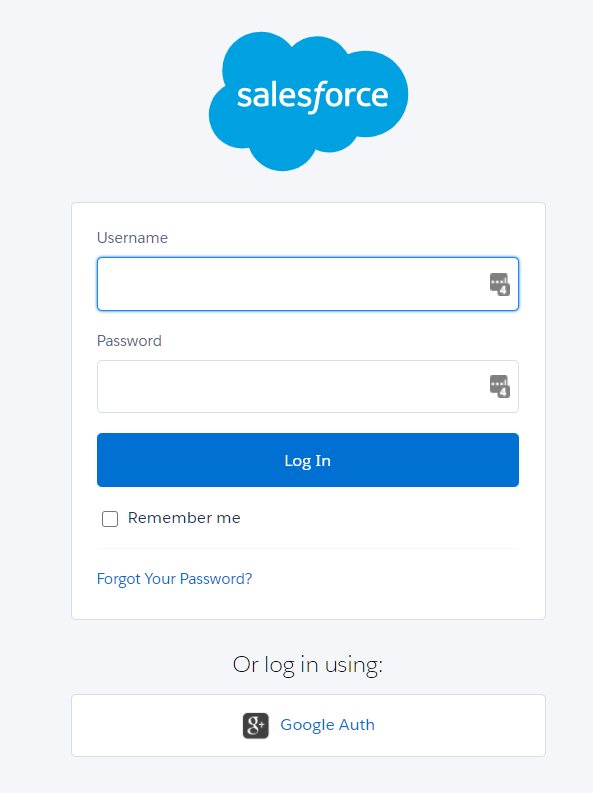
To test our flow you need to go to your domain to login. For e.g. my dev org has the URL https://crmcog-dev-ed.my.salesforce.com/. You can see the new Google authentication button alongside the normal Salesforce login.
That’s about it! Your Google authentication for Salesforce is all set and ready to go.